


A strong video editing workflow saves more time than any flashy plug-in. The best editors do not start by dragging clips onto a timeline. They start by making footage easy to find, easy to review, and easy to rebuild if something breaks.
TLDR: A complete video editing workflow moves from media organization to rough cuts, fine cuts, audio, color, effects, review, and final export. For example, a 10-minute YouTube video with 120 clips can lose 30% of editing time to poor file naming and missing assets. A clean folder system, proxies, labeled selects, and versioned timelines can turn a messy six-hour edit into a focused four-hour session.
1. Start With Media Organization
Before editing, build a project structure that will still make sense two weeks later. This sounds boring. It is not. It is the difference between editing and hunting for “that one clip where the camera pans left.”
Create a master folder for the project. Inside it, use clear subfolders:
- 01 Footage for camera files
- 02 Audio for voice, lav, boom, and music
- 03 Graphics for logos, lower thirds, and images
- 04 Project Files for editing software files
- 05 Exports for review and final videos
- 06 Archive for old versions and backups
Rename files only if your system supports it safely. Otherwise, keep original file names and organize through bins inside your editing app. Editors working with Premiere Pro, DaVinci Resolve, Final Cut Pro, or Avid should also use labels, bins, keywords, or markers.

It drives me crazy that some cameras still create file names like C0007.MP4. That is fine for the camera. It is terrible for humans. Add metadata where possible, such as scene, speaker, location, or shoot date.
2. Back Up Before You Touch the Edit
Never make your editing drive the only home for your media. Use the 3 2 1 backup rule: three copies, two different storage types, and one copy off-site or in the cloud.
At minimum, keep one main working drive and one backup drive. For paid work, add cloud storage or network storage. Losing source footage after the rough cut is not a minor problem. It can ruin the whole project.
3. Import, Sync, and Create Proxies
Once files are safe, import them into your editing software. Keep your bin structure close to your folder structure. This reduces confusion when moving between the computer drive and the editing app.
If your footage is 4K, 6K, or recorded in a heavy codec, create proxies. Proxies are lighter copies used for editing. The final export still pulls from the full-quality media. This makes playback smoother and cuts down lag.
Sync external audio early. Do not wait until the edit is almost finished. Use timecode if available. If not, use waveform sync. Clap slates still work because they create a sharp visual and audio spike.
4. Review Footage and Mark Selects
Watch the footage before building the timeline. Yes, it takes time. But skipping this step usually costs more time later.
Use markers or labels for standout moments:
- Green: strong takes
- Yellow: usable but needs work
- Red: problems, noise, focus issues, bad delivery
- Blue: B roll, cutaways, inserts
For interviews, pull the best answers into a “selects” timeline. For narrative work, sort by scene and take. For social ads, mark hooks, product shots, reactions, and calls to action.
5. Build the Rough Cut
The rough cut is not about polish. It is about structure. Get the story in order. Decide what stays and what goes.
Start with the main track: interview, narration, scene action, or performance. Then add supporting B roll. Do not worry about perfect cuts yet. Focus on rhythm, clarity, and message.
A simple rough cut goal is this: make the video understandable with no effects, no color work, and no music. If it works bare, it will work better after polish.
Honestly, it feels like half of editing is removing things you once thought were useful. Expect to cut favorite shots if they slow the video down. Pretty footage still has to earn its place.
6. Move Into the Fine Cut
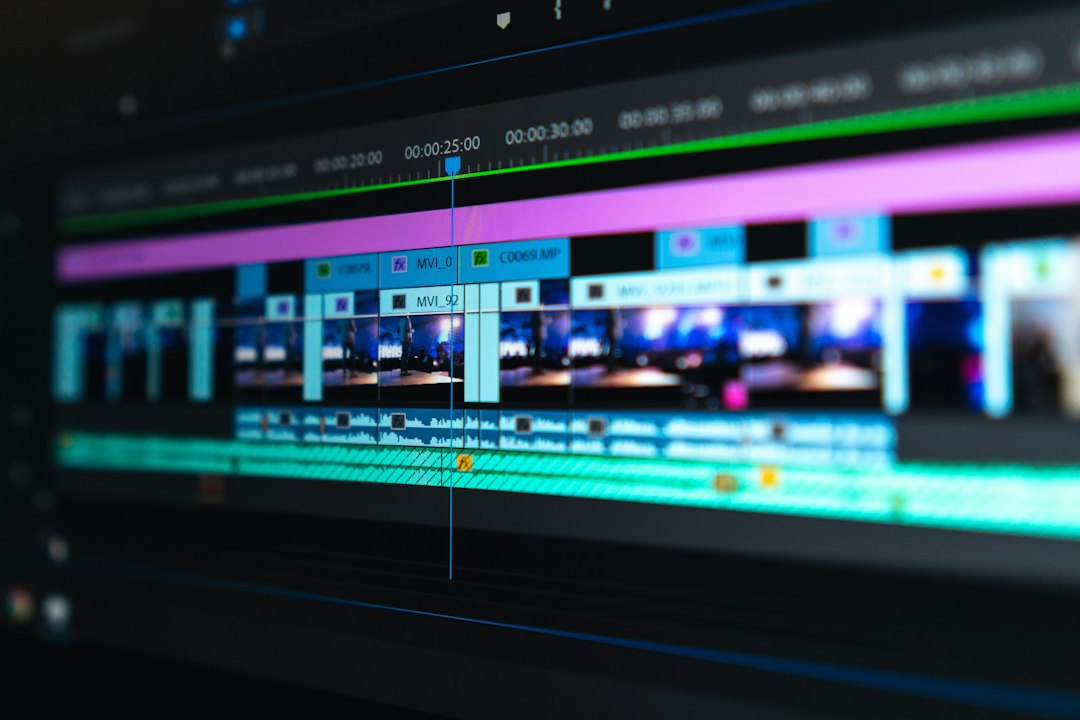
The fine cut is where timing matters. Tighten pauses. Remove repeated ideas. Smooth action. Shape the viewer’s attention.
Use J cuts and L cuts for cleaner sound flow. A J cut lets the next audio start before the visual cut. An L cut lets the previous audio continue after the visual cut. These small edits make interviews and scenes feel less stiff.
Check pacing in real time. A cut that feels sharp when scrubbing may feel rushed during playback. Watch without touching the keyboard. If your hand keeps reaching to trim something, trim it.
7. Clean and Mix the Audio
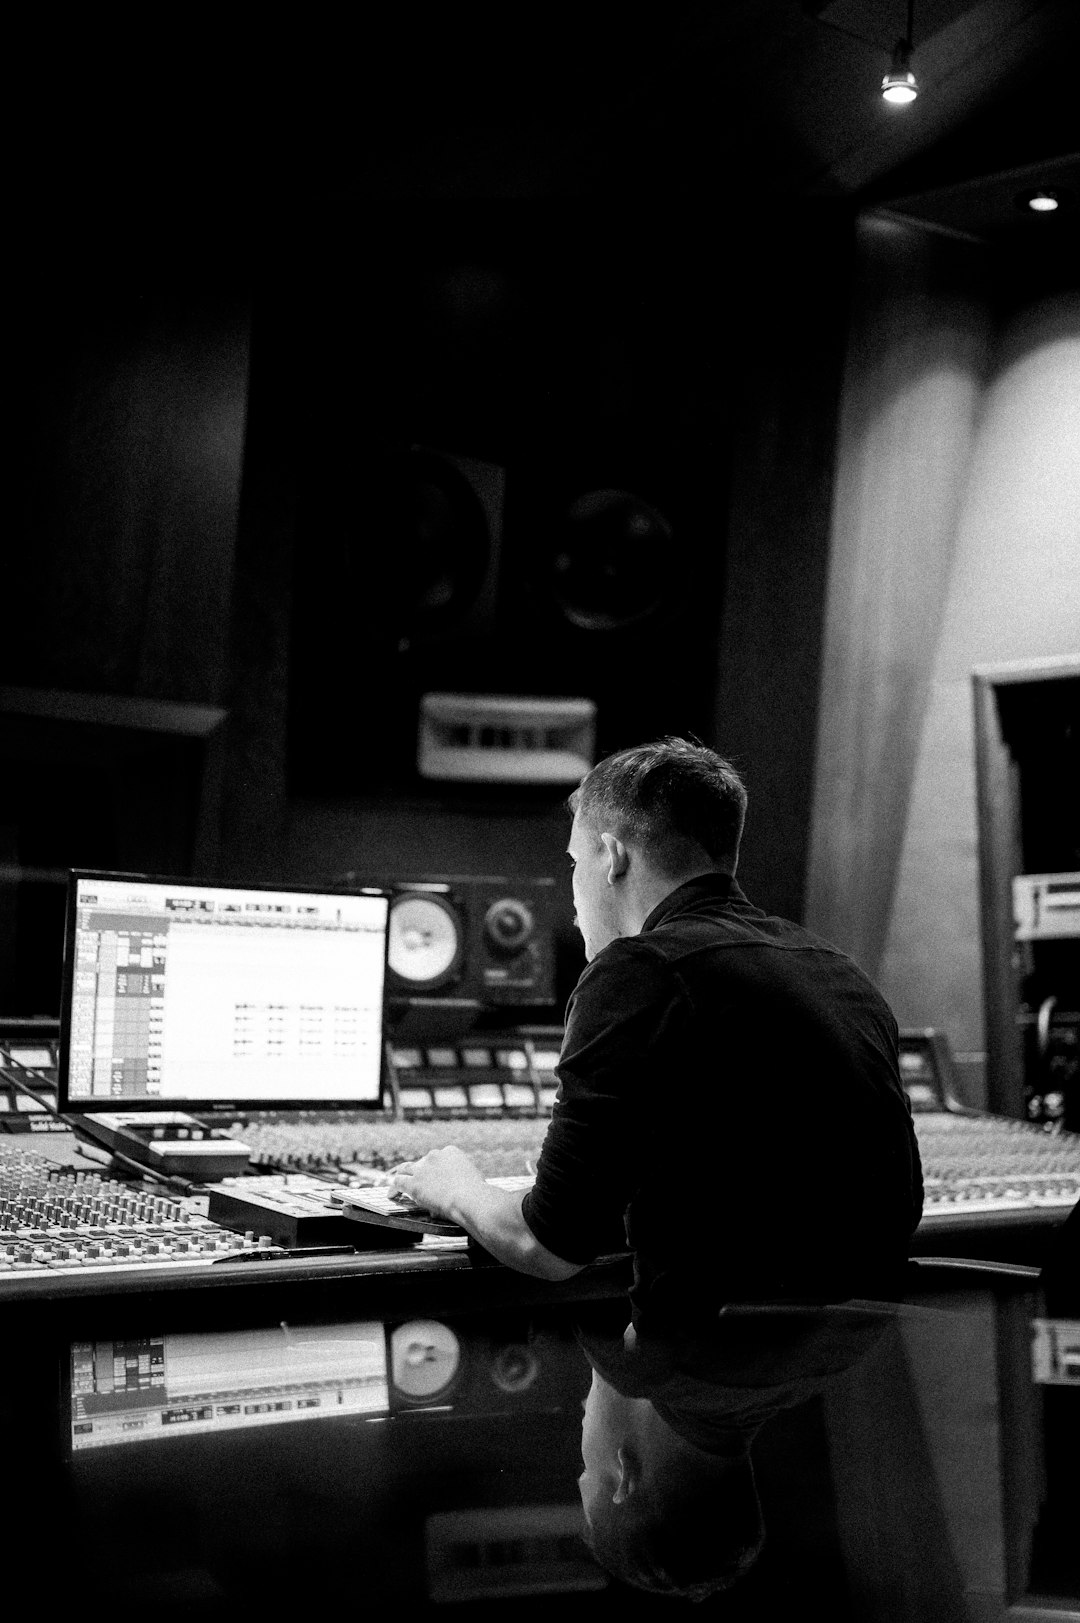
Bad audio weakens good visuals. Viewers may forgive a soft image. They rarely forgive harsh noise, echo, or dialogue they cannot understand.
Start with dialogue. Remove hums, clicks, and background noise. Use noise reduction lightly. Too much creates watery artifacts. Then balance levels.
Common audio targets:
- Dialogue: around -12 dB to -6 dB peaks
- Music under speech: often -25 dB to -18 dB
- Sound effects: loud enough to register, not loud enough to distract
- Final loudness: match the platform, such as around -14 LUFS for many web videos
Add room tone under dialogue edits if cuts feel empty. Use fades to avoid pops. Build your music around the story, not the other way around.
8. Color Correct Before You Color Grade
Color correction fixes problems. Color grading creates style. Keep those steps separate.
First, balance exposure, contrast, white balance, and skin tones. Match cameras if you used more than one. Use scopes, not only your eyes. Monitors lie. Room lighting lies too.
After correction, apply the grade. This might be warm and soft for a wedding film, clean and crisp for a corporate video, or bold for a music video. Keep skin natural unless the style clearly calls for something else.
9. Add Graphics, Effects, and Titles
Graphics should help the viewer. Lower thirds identify speakers. Captions improve access and retention. Callouts can explain details. Motion graphics can add energy when the footage is limited.
Keep effects controlled. A transition is not a personality. Use cuts, dissolves, speed changes, reframes, and visual effects only when they serve the video.
For social content, burn in captions or export a caption file. Many viewers watch muted. On some platforms, silent autoplay is common, so captions can increase watch time.
10. Review With Fresh Eyes
Export a review file before the final version. Watch it away from the edit timeline if possible. A full-screen playback reveals issues you ignore while editing.
Check for:
- Missing frames or black gaps
- Audio pops and sudden level jumps
- Spelling errors in titles
- Color mismatches between shots
- Awkward pacing
- Incorrect logos, dates, or names
If clients or teammates review the video, ask for timecoded notes. “Make it better at the middle part” is not useful. “At 01:14, remove the second sentence” is useful.
11. Export the Final Video
Before export, duplicate the final timeline and name it clearly. Use version numbers, such as ProjectName Final V03. This avoids destroying an approved timeline by mistake.
Choose export settings based on delivery:
- YouTube or web: H.264 or H.265, MP4, high bitrate
- Broadcast or archive: ProRes, DNxHD, or DNxHR
- Instagram Reels or TikTok: vertical 9:16, platform-safe captions
- Client review: smaller MP4 with visible timecode if needed
Watch the exported file after rendering. Not the timeline. The file. Exports can introduce glitches, missing fonts, offline media, or wrong audio routing. It is annoying, but checking saves embarrassment.
12. Archive the Project
Once approved, archive the project. Save the final edit file, final export, key assets, fonts, graphics, music licenses, and source media. If storage is limited, use your software’s project manager to collect only used media with handles.
A clean archive lets you reopen the project later for revisions, new formats, or shorter clips. That matters when someone asks for a 30-second cutdown three months from now.
The best video editing workflow is simple: organize first, edit for story, polish in stages, review carefully, then export with the right settings. Good workflow removes chaos. That gives you more space to make creative choices that viewers actually notice.