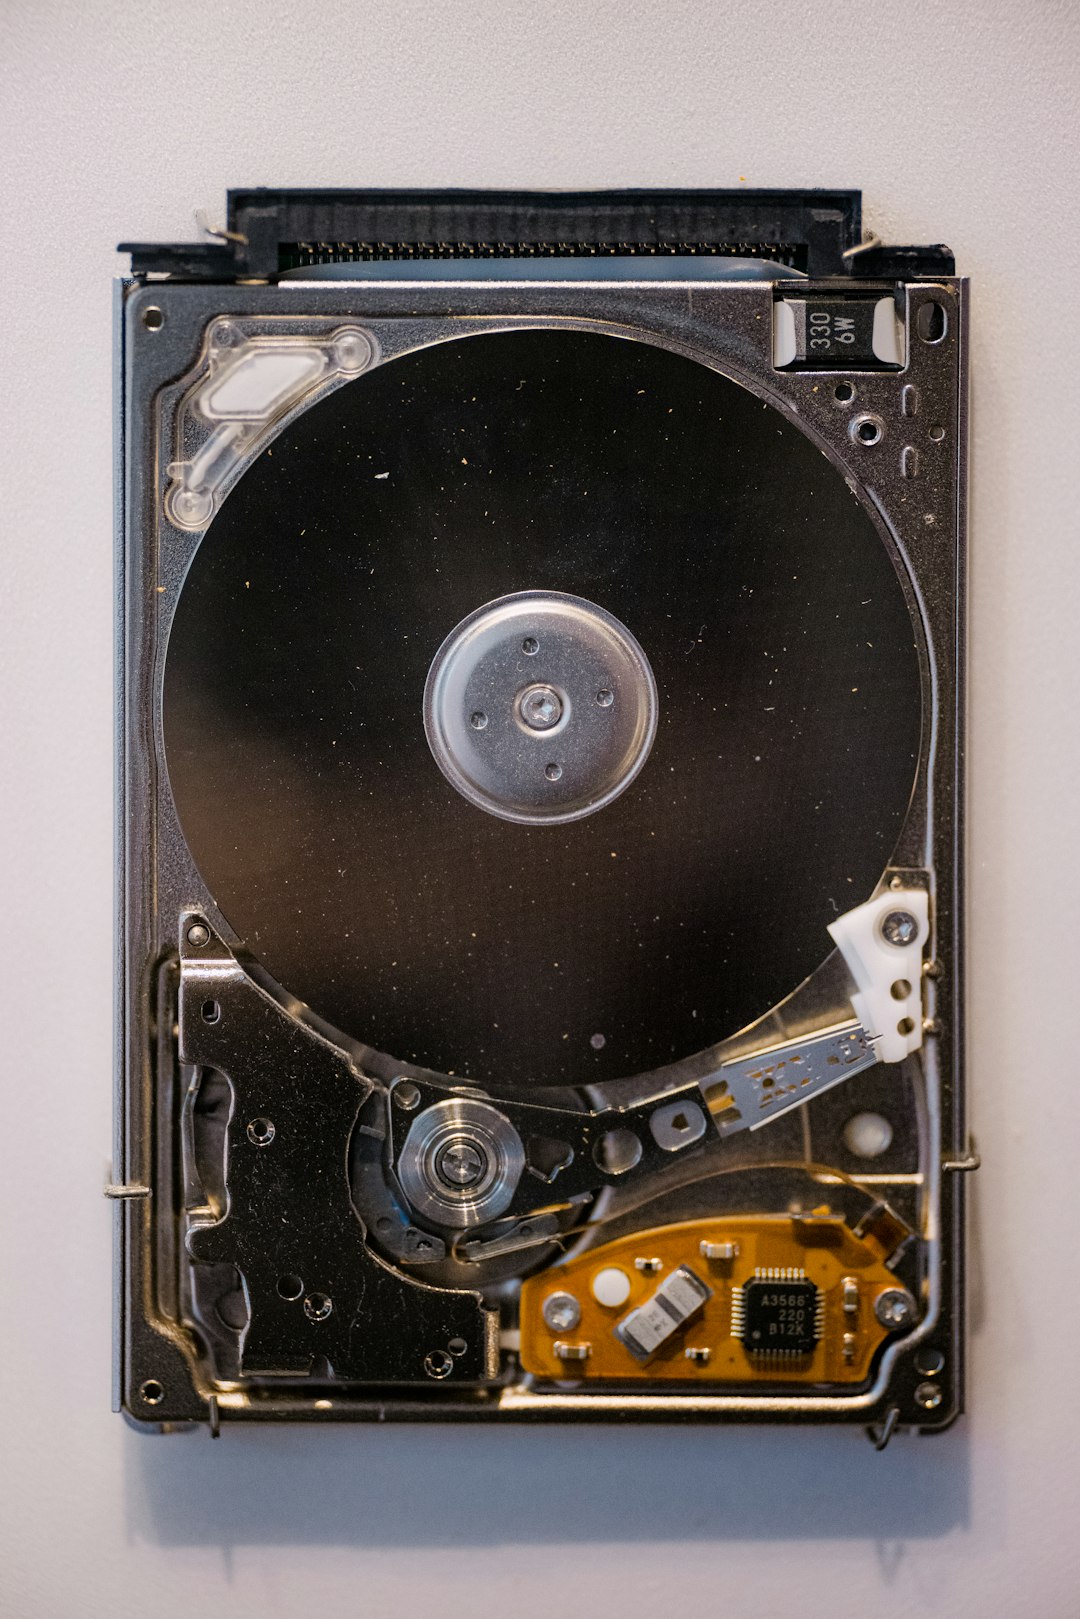
Encountering an I/O error with the message “The request could not be performed” can be incredibly frustrating, especially when it interrupts a vital data transfer or a regular file access process. This error typically indicates a problem between a storage device and your computer’s operating system. Although it might sound alarming, the good news is that it can often be resolved with the right troubleshooting steps.
This article will walk you through the common causes and effective solutions to fix this I/O error. Whether you’re dealing with an external hard drive, USB stick, internal storage, or even a DVD drive, these steps will help you identify the issue and get your device working again.
What Is an I/O Error?
I/O stands for Input/Output. An I/O error occurs when the operating system fails to communicate with a hardware device properly. The specific message “The request could not be performed because of an I/O device error” generally means the request to read or write data could not be completed.
This can result from multiple factors such as hardware issues, corrupted drivers, file system errors, or even improper connection.
Common Causes of I/O Device Errors
Before jumping into the solutions, identifying the root cause can help narrow down the fix. Here are the most common causes:
- Faulty hardware connections such as loose cables or bad ports
- Outdated or corrupted device drivers
- Incompatible or damaged storage devices
- File system corruption or bad sectors
- Incorrect BIOS configurations
- Drive letter conflicts in Windows

Step-by-Step Solutions to Fix the I/O Error
1. Check Physical Connections
Start with the most obvious cause. Improper or loose connections can often lead to I/O errors.
- Unplug and Plug Back In: Detach the device safely, unplug it, and connect it again firmly.
- Try Different Ports: If it’s a USB device, try connecting it to another USB port.
- Use Another Cable: Faulty or frayed cables often result in interrupted communication.
If you’re using an internal drive, open up your PC case (if you’re comfortable doing so) and ensure the data and power cables are properly connected.
2. Restart Your Computer
This might seem too simple, but a restart can refresh system processes and may resolve temporary glitches that cause I/O errors.
3. Try the Device on Another Computer
To check whether the issue lies with the storage device or your computer, plug the device into another PC. If it works there, the problem likely lies with your system configuration. If not, the device might be damaged.
4. Update or Reinstall Drivers
Device drivers are the bridge between your hardware and your operating system. A corrupted or outdated driver can easily cause I/O errors.
Follow these steps to update the driver:
- Press Windows + X and select Device Manager.
- Expand the category for the device (for example, Disk Drives).
- Right-click on your device and choose Update driver.
- Select Search automatically for updated driver software.
If updating doesn’t work, try reinstalling:
- Right-click the device and choose Uninstall device.
- Restart your computer – Windows will attempt to reinstall the correct driver automatically.
5. Change the Drive Letter
Drive letter conflicts can sometimes prevent access to a device. Assigning a new letter can solve the issue.
- Open Disk Management (search for it in the Start menu).
- Right-click the affected drive and choose Change Drive Letter and Paths.
- Click Change and choose a new letter from the dropdown.
6. Check Disk for Errors
Windows includes a built-in tool to check and fix file system errors.
- Open Command Prompt as Administrator.
- Type the following command and hit Enter:
chkdsk X: /f /rReplace X with the correct drive letter.
The /f flag fixes errors, while /r locates bad sectors and recovers readable information. This might take some time, especially on large drives.
7. Adjust BIOS Settings
In some cases, incorrect BIOS configurations may be preventing the system from communicating with the drive. You’ll need to enter BIOS/UEFI during system boot (typically by pressing Delete, F2, or Esc) and check the following:
- Ensure the SATA mode is set to AHCI or IDE (try switching the setting if one is not working).
- Make sure the drive is detected in the BIOS list.
Note: Be cautious while changing BIOS settings — incorrect configurations can impact your system’s stability.

8. Run Hardware and Devices Troubleshooter
Though less popular, Windows has a helpful tool for detecting device-related issues.
To use it:
- Press Windows + R and type
msdt.exe -id DeviceDiagnostic, then press Enter. - Follow the on-screen instructions to diagnose and fix potential issues.
9. Scan for Malware
Malicious software can corrupt files or interfere with device communication, leading to I/O errors. Perform a full system scan using:
- Windows Defender
- A trusted third-party antivirus
Remove any detected threats and restart your system to see if the error persists.
10. Format the Drive (Last Resort)
If you’ve tried all else and you still can’t access your device, formatting may be necessary. This step erases all data, so it should only be performed after backing up what you can.
Here’s how to format a drive in Windows:
- Open This PC.
- Right-click the problematic drive.
- Select Format and choose the desired file system (NTFS is standard for Windows).
- Click Start and wait for the process to complete.
Important: This will permanently delete all contents of the drive.
Preventing Future I/O Errors
Once you’ve resolved the issue, consider the following tips to reduce the likelihood of encountering I/O device errors again in the future:
- Safely eject drives before unplugging them
- Store hardware safely to avoid physical damage
- Regularly update drivers and Windows OS
- Use high-quality cables and ports
- Perform frequent disk checks for errors and bad sectors
Wrapping Up
The “The request could not be performed because of an I/O device error” may sound daunting, but with systematic troubleshooting, most cases can be resolved without professional help. Remember to start with the basics — cables and connections — and work your way up through software and hardware checks.
With the right attention to detail and a bit of patience, you can often restore full access to your device and get back to work without losing important data.


