

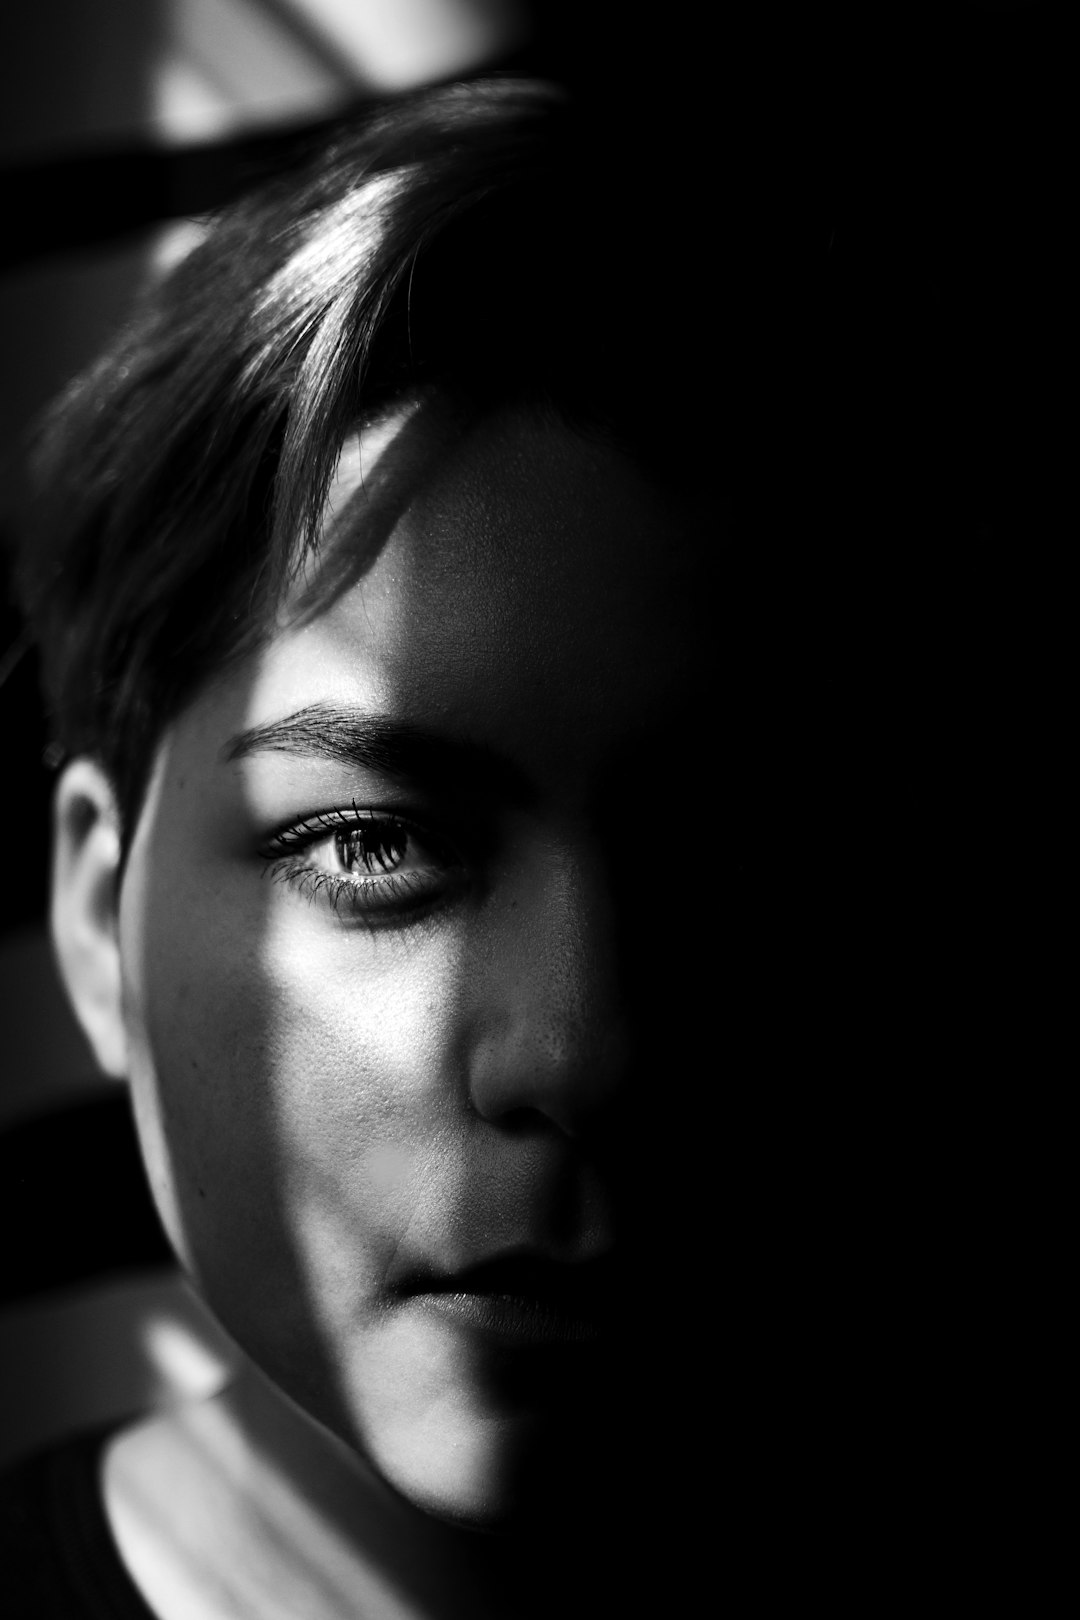
Solarization is one of photography’s most distinctive effects: tones partially reverse, highlights may darken, shadows may glow, and edges often appear outlined with a strange metallic clarity. The look is associated with experimental darkroom practice, especially the Sabattier effect, but it can also be recreated with modern editing software. Understanding both approaches helps photographers choose the right method for their image, their workflow, and the degree of control they need.
TLDR: Traditional solarization is created in the darkroom by briefly re-exposing a partially developed print or negative to light, producing unpredictable but organic tonal reversals. Digital solarization uses curves, inversion, blending modes, and masks to simulate the same effect with far more control and repeatability. The darkroom method is more tactile and authentic, while the digital method is faster, safer, and easier to refine. Both can produce serious artistic results when used with restraint and intention.
What Solarization Actually Means
In everyday use, “solarization” often refers to any image in which tones appear reversed or partially inverted. Historically, however, the effect most photographers mean is the Sabattier effect. This occurs when a photographic material is exposed to light during development, before the image has fully formed. The result is not a simple negative image; instead, only certain tonal areas reverse, and boundaries between light and dark may develop a characteristic outline.
This is what makes the process visually compelling. A basic inversion merely swaps black and white. Solarization creates a more complex relationship between tones: skin can become silvery, skies can turn dense and dramatic, and outlines can form around objects in a way that feels both photographic and graphic.

Traditional Darkroom Solarization
To solarize an image in the darkroom, you generally work with a black and white photographic print. The method requires a darkroom, photographic paper, developer, stop bath, fixer, running water, and a controlled light source. Safety and consistency matter, so it is best to work methodically and keep notes.
The basic process is as follows:
- Expose the print normally under the enlarger, using a negative and photographic paper.
- Begin development by placing the paper in developer and agitating gently.
- Interrupt development partway through, usually when the image has begun to appear but is not fully developed.
- Briefly expose the paper to white light, often for a fraction of a second to a few seconds.
- Continue development until the desired effect appears.
- Stop, fix, wash, and dry the print as usual.
The difficulty lies in timing. Too much re-exposure can flatten the image or make it excessively dark. Too little may produce almost no effect. The strength of the developer, paper type, image contrast, and distance from the light source all influence the outcome. Even small variations can change the final print.
For this reason, traditional solarization is often described as partly controlled accident. Experienced darkroom printers can improve consistency by using test strips, a low-wattage bulb, a timer, and precise development times. Still, the process retains an element of unpredictability. That unpredictability is not a flaw; for many artists, it is the reason to use the method.
Advantages of the Darkroom Method
The main strength of traditional solarization is its physical authenticity. The effect is created in the silver-based photographic material itself, not added afterward. This often produces tonal transitions and edge effects that feel unusually natural, even when the image looks surreal.
Darkroom solarization also encourages careful decision-making. Because each print requires time, materials, and attention, the photographer is more likely to evaluate composition, exposure, and contrast before experimenting. The process can be slow, but that slowness can support a more disciplined way of working.
Its disadvantages are equally clear. The method requires equipment, chemical handling, ventilation, and practice. It can be wasteful during testing, and exact repetition is difficult. If a client or publication requires precise consistency across multiple images, traditional solarization may not be the most practical choice.
Digital Solarization Methods
Digital solarization recreates the visual logic of the Sabattier effect using software. Programs such as professional photo editors, raw processors, and even some mobile apps can simulate tonal reversal. The most common tools are curves, inversion, blend modes, contrast adjustment, and layer masks.
A straightforward digital workflow looks like this:
- Open the image and convert it to black and white if desired.
- Duplicate the image layer so the original remains untouched.
- Apply an inverted or solarized curve, often by creating a curve that rises, dips, and rises again.
- Adjust contrast to strengthen the separation between reversed and unreversed tones.
- Use masks to apply the effect selectively to faces, skies, backgrounds, or textures.
- Refine with grain, sharpening, or toning to avoid a sterile digital appearance.
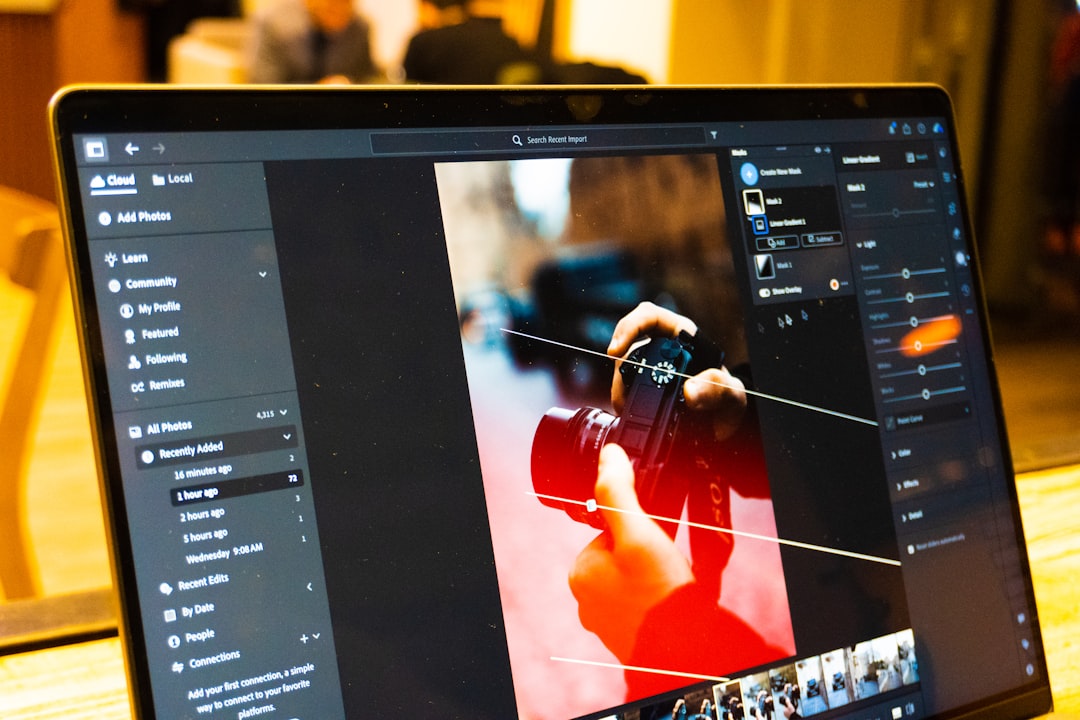
The curves tool is especially important. A normal curve maps dark tones to dark output and light tones to light output. A solarizing curve disrupts that relationship. By bending the curve into a wave-like shape, you can cause selected tonal ranges to reverse while others remain relatively normal. This is one reason digital solarization can be more subtle than a simple “invert” command.
Advantages of the Digital Method
The greatest benefit of digital solarization is control. You can adjust the strength, protect important details, compare versions, and undo mistakes instantly. This makes the method suitable for commercial work, editorial projects, and fine art series where consistency matters.
Digital tools also allow color solarization, which is harder to manage in a traditional darkroom. By working with individual color channels, you can create unusual combinations: blue shadows, copper highlights, or green midtones. However, serious results require restraint. Overly saturated solarization can quickly look artificial or dated.
The digital method is also more accessible. It does not require chemicals, a darkroom, or specialized paper. For photographers working mainly with digital cameras, it fits naturally into the existing workflow. The trade-off is that the effect may look generic if applied with a preset and no further refinement.
Comparing the Two Approaches
The traditional and digital methods differ not only technically but also philosophically. The darkroom version is material-based: light, chemistry, paper, and timing interact directly. The digital version is interpretive: software models the appearance and gives the photographer extensive control over the result.
- Authenticity: Darkroom solarization has a unique physical origin; digital solarization is a simulation, though it can be highly convincing.
- Control: Digital editing offers more precision, especially through layers and masks.
- Repeatability: Digital settings can be saved and reused; darkroom results vary more easily.
- Cost and access: Digital methods are generally cheaper and more accessible once software is available.
- Creative surprise: Traditional solarization often produces unexpected results that can inspire new directions.

Practical Tips for Better Results
Whether working traditionally or digitally, start with a strong image. Solarization works best when the photograph already has clear shapes, defined contrast, and interesting tonal relationships. Portraits, architectural forms, still lifes, and high-contrast landscapes often respond well.
In the darkroom, keep careful notes on exposure time, development time, re-exposure duration, bulb strength, and paper type. Make small changes between tests rather than altering several variables at once. In digital editing, avoid relying only on automatic filters. Use curves deliberately, examine the histogram, and check whether important details have become muddy or harsh.
It is also wise to decide what role the effect should play. Solarization should not merely decorate an image. At its best, it reinforces mood, ambiguity, tension, or abstraction. A restrained solarized portrait can feel psychological and intimate; an overprocessed one may simply appear gimmicky.
Which Method Should You Choose?
Choose traditional darkroom solarization if you value process, physical craft, and the possibility of unexpected results. It is especially rewarding for photographers who already print in the darkroom and want to explore the expressive behavior of photographic materials.
Choose digital solarization if you need speed, flexibility, repeatability, or selective control. It is the practical choice for most contemporary workflows and can still produce sophisticated images when handled carefully.
Ultimately, neither method is inherently superior. Traditional solarization offers the authority of chemistry and chance; digital solarization offers precision and adaptability. The strongest work comes from understanding the character of both and using the effect only when it serves the photograph’s deeper purpose.