

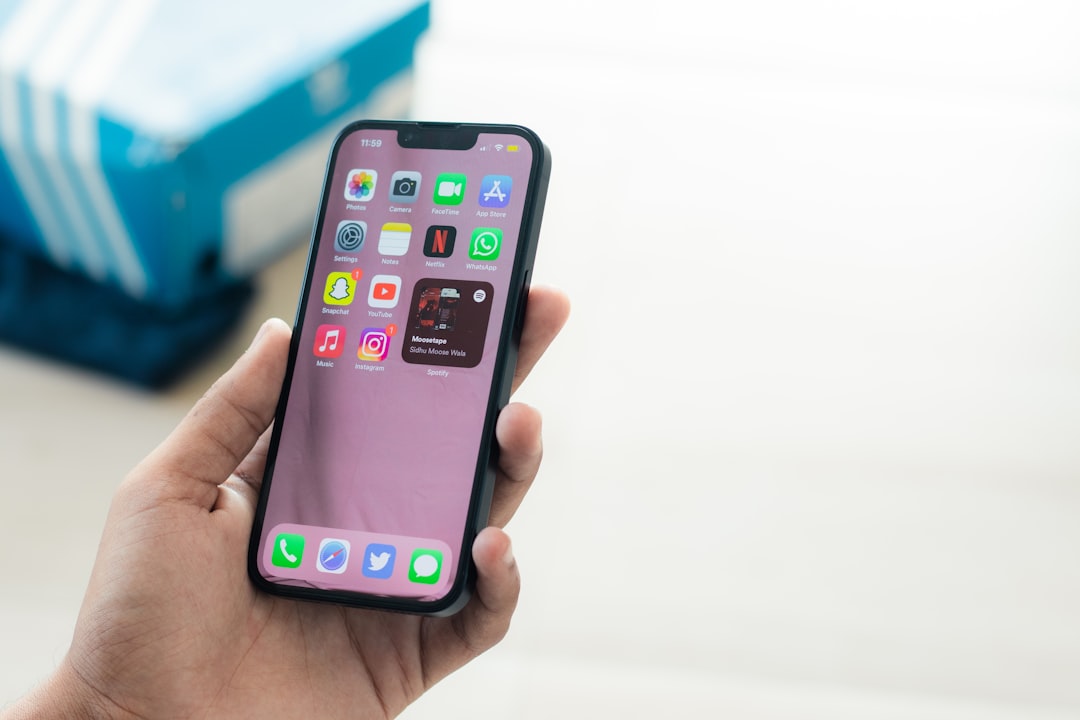
If you keep turning off “Limit IP Address Tracking” on your iPhone, iPad, or Mac only to find it enabled again later, you are not imagining things. This privacy feature is closely tied to Apple’s iCloud Private Relay, Wi Fi network settings, cellular settings, software updates, and sometimes device management profiles. The good news is that the issue is usually fixable once you know where Apple stores the setting and what can turn it back on.
TLDR: To stop “Limit Address Tracking” from re enabling, turn off iCloud Private Relay, then disable the setting separately for your Wi Fi and cellular connections. Forget and rejoin the affected Wi Fi network if the toggle keeps returning. Also check for VPNs, configuration profiles, Screen Time restrictions, and pending iOS or macOS updates that may be overriding your preference.
What “Limit Address Tracking” Actually Does
Apple’s setting is officially called “Limit IP Address Tracking” on many iOS, iPadOS, and macOS versions. When enabled, it helps hide your IP address from known trackers in apps like Safari and Mail, and it can work alongside iCloud Private Relay if you subscribe to iCloud Plus.
In simple terms, your IP address can reveal information such as your general location and internet provider. Apple’s feature attempts to make that harder for advertisers and trackers to use. However, it can sometimes cause problems with work networks, school Wi Fi, banking sites, streaming services, routers, VPNs, captive portals, and websites that require a consistent IP address.
That is why some users choose to turn it off. The frustrating part is when the setting appears to switch itself back on.
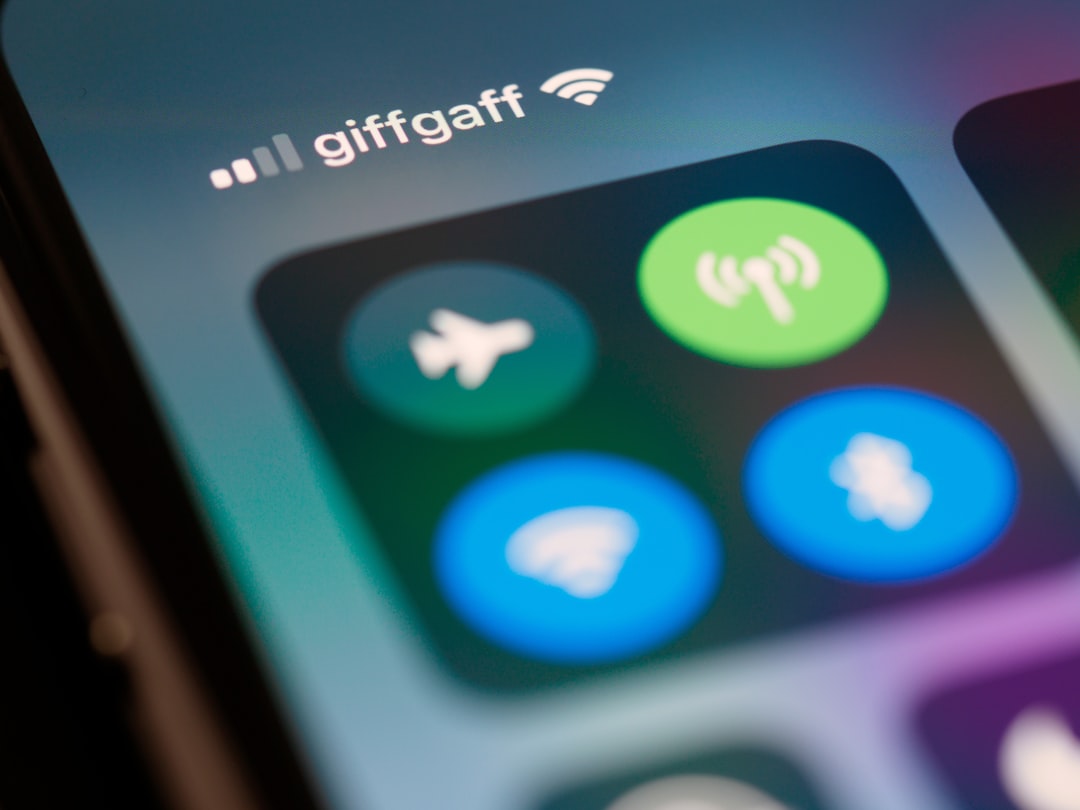
Why the Setting Keeps Re Enabling
Before fixing it, it helps to understand the most common causes. “Limit IP Address Tracking” may re enable because:
- iCloud Private Relay is still active and is restoring privacy protections automatically.
- The setting was disabled only for one connection, while another Wi Fi or cellular profile still has it enabled.
- iOS, iPadOS, or macOS was updated, and the update reset network privacy preferences.
- The Wi Fi network profile is corrupted or syncing old settings through iCloud Keychain.
- A VPN, security app, or device management profile is enforcing network privacy behavior.
- Screen Time or enterprise restrictions are preventing changes from sticking.
In other words, there is rarely just one master switch. Apple treats this as a mix of account level, device level, and network specific privacy settings.
Step 1: Turn Off iCloud Private Relay
If iCloud Private Relay is enabled, it can cause “Limit IP Address Tracking” to return, especially after reconnecting to Wi Fi or restarting the device.
On iPhone or iPad:
- Open Settings.
- Tap your Apple ID name at the top.
- Go to iCloud.
- Tap Private Relay.
- Turn Private Relay off.
On Mac:
- Open System Settings.
- Click your Apple ID.
- Select iCloud.
- Open Private Relay.
- Switch it off.
If you only pause Private Relay temporarily, Apple may turn related protections back on later. For troubleshooting, turn it off completely, then restart the device.
Step 2: Disable It for the Wi Fi Network
This setting is often stored per Wi Fi network, which means turning it off in one place does not necessarily disable it everywhere.
On iPhone or iPad:
- Open Settings.
- Tap Wi Fi.
- Tap the info icon next to your connected network.
- Find Limit IP Address Tracking.
- Turn it off.
After switching it off, disconnect from Wi Fi, wait a few seconds, and reconnect. Then return to the same screen and confirm the setting stayed disabled.
If it turns itself back on immediately, continue to the next step. That usually means the saved network profile is not behaving correctly.
Step 3: Forget and Rejoin the Network
A damaged or outdated Wi Fi profile can keep restoring old privacy settings. Forgetting the network forces your device to create a fresh connection record.
- Go to Settings > Wi Fi.
- Tap the info icon beside the problematic network.
- Tap Forget This Network.
- Restart your iPhone, iPad, or Mac.
- Reconnect to the Wi Fi network and enter the password again.
- Open the network details and disable Limit IP Address Tracking.
This is one of the most effective fixes because it clears old network configuration data. If you use the same Apple ID on multiple devices, also check whether iCloud Keychain is syncing Wi Fi settings back to the device. In stubborn cases, forget the network on all of your Apple devices before reconnecting.
Step 4: Check Cellular Data Settings
If the issue appears when you are not on Wi Fi, the cellular toggle may be the reason. Apple also provides IP tracking controls for mobile data.
On iPhone:
- Open Settings.
- Tap Cellular or Mobile Data.
- Select Cellular Data Options.
- Look for Limit IP Address Tracking.
- Turn it off.
If you have dual SIM or eSIM lines, check each line separately. Each cellular plan may store its own privacy preferences.
Step 5: Remove VPNs, Profiles, and Security Restrictions
VPN apps, DNS filtering tools, antivirus apps, school profiles, employer profiles, and parental controls can all affect network privacy behavior. Even if they do not directly enable “Limit IP Address Tracking,” they may interfere with how the setting is saved.
Check for configuration profiles on iPhone or iPad:
- Open Settings.
- Go to General.
- Tap VPN & Device Management.
- Review any installed profiles.
If the device belongs to your employer or school, you may not be able to change this permanently. In that case, contact the administrator and ask whether network privacy settings are being managed.
You should also temporarily disable VPN apps and custom DNS services, then restart the device and test again. If the setting stops re enabling, the VPN or DNS app is likely involved.
Step 6: Update Your Device
Some versions of iOS, iPadOS, and macOS have had bugs related to Private Relay and network privacy toggles. If your device is behind on updates, install the latest stable version.
On iPhone or iPad, go to Settings > General > Software Update. On Mac, go to System Settings > General > Software Update.
After updating, check Private Relay, your Wi Fi network details, and Cellular Data Options again. Updates can fix the problem, but they can also reset preferences, so it is worth verifying everything afterward.
Step 7: Reset Network Settings as a Last Resort
If nothing else works, reset the network settings. This removes saved Wi Fi networks, Bluetooth pairings, VPN configurations, and cellular network preferences, so use it only after trying the simpler fixes.
On iPhone or iPad:
- Open Settings.
- Go to General.
- Tap Transfer or Reset iPhone.
- Tap Reset.
- Select Reset Network Settings.
Once the device restarts, reconnect to Wi Fi, turn off Limit IP Address Tracking for that network, and test whether it remains off.
When You Should Leave It Enabled
Although this article focuses on disabling the feature, it is worth noting that “Limit IP Address Tracking” exists for a good reason. If you are browsing on public Wi Fi, traveling, using hotel networks, or simply want better privacy from trackers, leaving it enabled is usually beneficial.
You should mainly disable it when it causes a specific problem, such as a website refusing login, a work network failing authentication, a streaming service misidentifying your region, or a router feature not recognizing your device correctly.
Final Thoughts
When “Limit Address Tracking” keeps re enabling, the most likely culprit is iCloud Private Relay or a network specific setting that was not changed everywhere. Start by turning off Private Relay, then disable the toggle for Wi Fi and cellular separately. If it still returns, forget the network, check VPNs and profiles, update your device, and reset network settings only as a final step.
Apple designed this feature to protect privacy automatically, so it can feel persistent. But once you clean up the related settings, your preference should finally stick.