

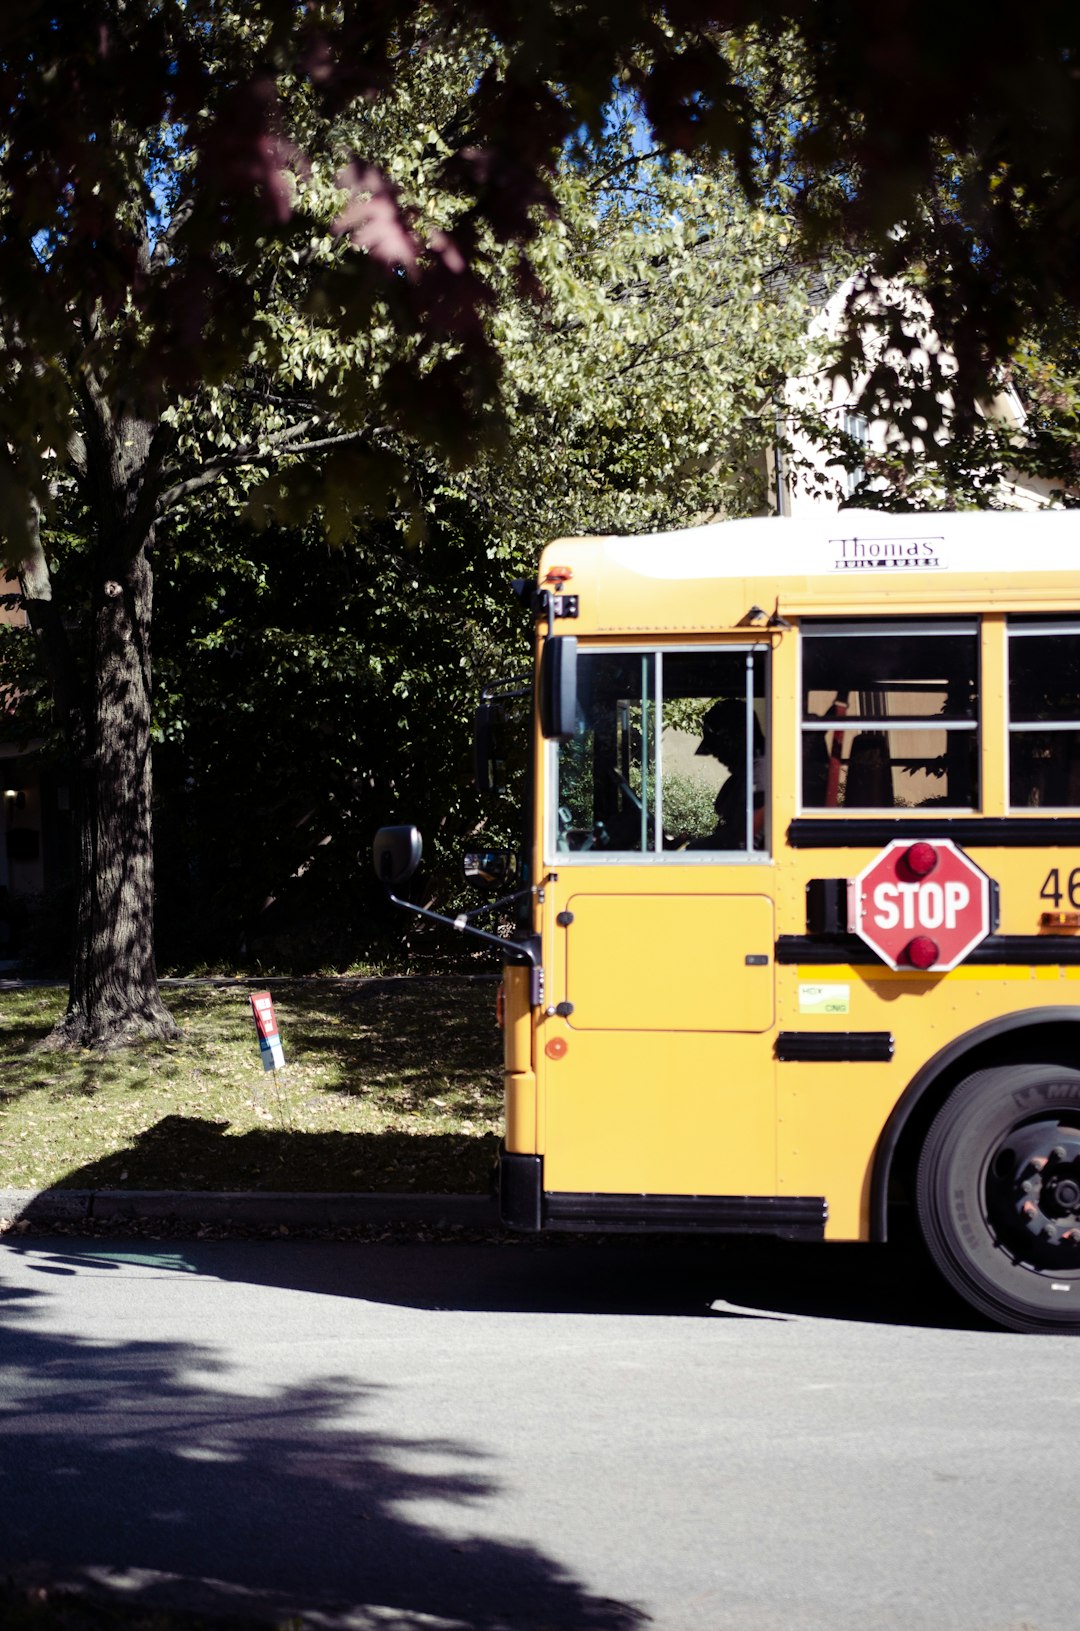
School mornings can feel like a tiny circus. Shoes hide. Lunchboxes vanish. Someone always asks, “Where is my hoodie?” Then comes the big question: “Where is the bus?” The First Student app helps answer that question. It lets families track school transportation in a simple way.
TLDR: The First Student app helps you see where your child’s school bus is and when it may arrive. You sign in, add your student, choose alerts, and check the map. It can help make mornings calmer and afternoons less stressful. Always follow your school district’s rules and use the app as a helpful guide.
What Is the First Student App?
The First Student app is a school bus tracking tool. In many areas, it may be called FirstView or be connected to First Student transportation services. Your school district may use it to share bus location details with parents and guardians.
Think of it like a friendly map for your child’s bus. It can show the bus route. It can show estimated arrival times. It can send alerts if the bus is late. It can also help you know when the bus is getting close.
That means fewer window checks. Fewer guessing games. Fewer “Is it here yet?” moments.
Important note: The app only works if your school district uses First Student tracking tools. If you are not sure, ask your school office or transportation department.
Why Parents Use It
School transportation can be tricky. Buses may run late because of traffic, weather, road work, or route changes. The app gives you more information in one place.
Parents and guardians use it to:
- Track the bus on a map.
- Check estimated arrival times for stops.
- Get alerts about delays or changes.
- Plan better in the morning.
- Feel more at ease in the afternoon.
It does not replace common sense. It does not mean you should wait until the last second. But it can help you feel more prepared.
Step 1: Check If Your District Uses It
Before you download anything, check with your school. Some districts send a letter. Some send an email. Some post directions on the school website.
Look for details like:
- The app name.
- A district code.
- A student ID number.
- Setup instructions.
- Support contact information.
You may need a special code from your district. This helps keep student information private. Do not guess the code. Do not use someone else’s login. Use the information given by your school.
Step 2: Download the App
Once your district confirms access, download the correct app. Go to your phone’s app store. Search for the app name your district gave you. It may be listed as FirstView, First Student, or another district approved transportation app.
Before you install it, check the publisher name. Make sure it matches the official instructions from your school. This helps you avoid fake or incorrect apps.
After that, tap Install or Get. Wait for the app to download. Then open it.
Step 3: Create Your Account
Most families will need to create an account. This usually means entering your email address and making a password.
Choose a strong password. Use one that is hard to guess. Do not use your child’s name or birthday. That is too easy.
You may also need to verify your email. If so, check your inbox. If you do not see the email, check your spam or junk folder. Sometimes little emails like to play hide and seek.
Once verified, return to the app and sign in.
Step 4: Add Your Student
Now it is time to connect the app to your child’s bus information. This is where your school’s instructions matter.
You may be asked for:
- Your school district code.
- Your child’s student ID.
- Your child’s last name.
- Your child’s school name.
- Your bus route number.
Enter the details carefully. A tiny typo can cause big confusion. For example, “01234” is not the same as “1234” in many systems.
If the app cannot find your student, do not panic. It may mean the district has not loaded the route yet. It may also mean your information does not match the school’s records. Call the school transportation office for help.
Step 5: Set Your Bus Stop
Some versions of the app let you set or confirm the bus stop. Other versions show the stop automatically.
If you can set a stop, choose the correct one. Be careful. Many streets have similar names. Some stops may be close together.
Your child should still use the official bus stop assigned by the school. The app is not a permission slip to change stops. If you need a different stop, ask the school district.

Step 6: Turn On Notifications
This is one of the best parts. Notifications can help you know what is happening without staring at the app all morning.
You may be able to receive alerts for:
- Bus approaching your stop.
- Bus arrived at the stop.
- Bus delayed due to traffic or weather.
- Route updates from the district.
- School messages about transportation.
To turn on alerts, go to the app settings. Find Notifications. Choose the alerts you want. Also check your phone settings. The app needs permission to send alerts.
Here is a simple tip. Set alerts a little early. Do not wait until the bus is at your door. Kids need time to grab backpacks, zip coats, and remember that one very important art project.
Step 7: Use the Map
The map is the fun part. It may show the bus as an icon moving along the route. It may also show your child’s stop. Some systems show estimated arrival times too.
Open the app before pickup time. Look for your student or route. Tap it if needed. The map should show the bus location, if tracking is active.
Keep in mind that bus tracking is not magic. It depends on GPS, cell service, and system updates. Sometimes the map may lag. Sometimes a bus may not show for a few minutes. That does not always mean something is wrong.
Use the map as a helpful tool. Still leave enough time to get to the stop safely.
What Do the Times Mean?
The app may show an estimated time of arrival. This is often called an ETA. It is a guess based on current information.
An ETA can change. Traffic lights change. Cars slow down. A student may take longer to board. A road may be blocked. Weather may get messy.
So if the app says the bus will arrive in five minutes, treat that as a helpful clue. Do not treat it like a superhero promise carved in stone.
Morning Routine Made Easier
Here is a simple way to use the app in the morning:
- Wake up and check the app.
- Look for route updates or delays.
- Pack the backpack.
- Check the bus location.
- Leave for the stop early.
- Wait in a safe place.
This routine can save time. It can also reduce stress. You may not need to rush outside too early. You may not need to wonder if the bus already came.
But remember this golden rule: be at the stop before the bus arrives. Drivers cannot always wait. The app helps you plan. It does not pause the bus.
Afternoon Routine Made Easier
Afternoons can be just as busy. Maybe you are working. Maybe you are cooking. Maybe you are helping another child with homework. The app can help you know when the bus is getting close.
Try this simple plan:
- Check the app near dismissal time.
- Watch for delay alerts.
- See when the bus leaves school.
- Be ready at the stop early.
- Talk with your child about safe pickup rules.
If your child is older and walks home from the stop, set clear rules. Make sure they know where to go. Make sure they know who to call. Safety comes first.
What If the App Is Wrong?
Technology is helpful. Technology is also sometimes weird. The app may show an old location. It may freeze. It may have missing info. It may say the bus is nearby when it is not.
If something looks strange, try this:
- Close and reopen the app.
- Check your internet connection.
- Refresh the route screen.
- Restart your phone.
- Check for app updates.
- Look for messages from the district.
If the problem continues, contact your school transportation office. Give clear details. Include your student’s school, route, stop, and the time of the issue.
What If You Do Not Get Alerts?
If alerts are missing, check two places.
First, check the app settings. Make sure notifications are turned on. Make sure you picked the correct student, route, or stop.
Second, check your phone settings. Your phone may be blocking notifications. Go to settings. Find the app. Allow notifications. Also check sounds and lock screen settings.
If you use “Do Not Disturb,” alerts may be silent. This is great during movies. It is less great when you are waiting for a bus update.
Privacy and Safety Tips
Bus tracking uses student transportation information. Treat it with care.
- Do not share your login with people who do not need it.
- Do not post bus locations online.
- Do not share screenshots with route details.
- Use a strong password.
- Log out on shared devices.
Your child’s route is private. Other children may be on the same bus. Keep everyone’s information safe.
Tips for Kids
The app is mostly for adults. But kids can understand the basics too.
Tell your child:
- The bus may be early or late.
- Wait in the safe spot.
- Do not chase the bus.
- Listen to the driver.
- Call a trusted adult if something feels wrong.
Make it simple. Make it calm. Kids do best when they know the plan.
Common Questions
Can I track the bus all day?
Maybe not. Tracking may only show during active routes. That means morning pickup and afternoon drop-off.
Can I see every bus?
Usually no. You should only see buses linked to your student or route.
Can the app tell me if my child got on the bus?
Some systems may offer student ridership features. Others only show bus location. Ask your district what is included.
What if my child changes buses?
Contact the school or transportation office. The app may need time to update.
Is the app always exact?
No. It is a tool. GPS and service issues can affect accuracy.
Final Thoughts
The First Student app can make school transportation feel less mysterious. It gives you bus tracking, alerts, and helpful updates right on your phone. That can turn a wild morning into a smoother one.
Use it as part of your routine. Check the map. Turn on notifications. Keep your information private. And always get to the bus stop early.
With a little setup, the app can become your school morning sidekick. Not a superhero cape. Not a crystal ball. Just a smart little helper in your pocket.