
GitHub is one of the most widely used platforms for storing, managing, and collaborating on code. If you are new to software development, it may look intimidating at first, but the core ideas are straightforward once you understand two essential concepts: repositories and commits. These are the building blocks of almost every GitHub workflow, whether you are working alone, contributing to an open-source project, or collaborating with a professional development team.
TLDR: A repository is a project folder stored on GitHub, and a commit is a saved snapshot of changes made to that project. Beginners should start by creating a repository, adding files, making clear commits, and learning how to review project history. Good habits, such as writing meaningful commit messages and organizing files carefully, make GitHub easier to use and more valuable over time.
What GitHub Is and Why It Matters
GitHub is a web-based platform built around Git, a version control system that tracks changes in files over time. Git was created to help developers manage code safely and efficiently, especially when multiple people are working on the same project. GitHub adds a user-friendly interface, collaboration tools, issue tracking, pull requests, and cloud storage for Git repositories.
For beginners, GitHub is useful because it gives you a reliable place to store your work. Instead of keeping only one local copy of your project on your computer, you can upload it to GitHub and access it from anywhere. More importantly, GitHub keeps a detailed record of what changed, when it changed, and who made the change.
This history is valuable. If you accidentally break part of your project, you can inspect earlier versions and understand what happened. If you are learning to code, your GitHub profile can also become a professional portfolio that shows your progress, discipline, and technical interests.
Understanding Repositories
A repository, often shortened to repo, is a storage location for a project. Think of it as a project folder that contains your files, documentation, code, images, configuration files, and the full history of changes. A repository can be small, such as a single script, or large, such as a complete web application.
Every repository usually includes several important parts:
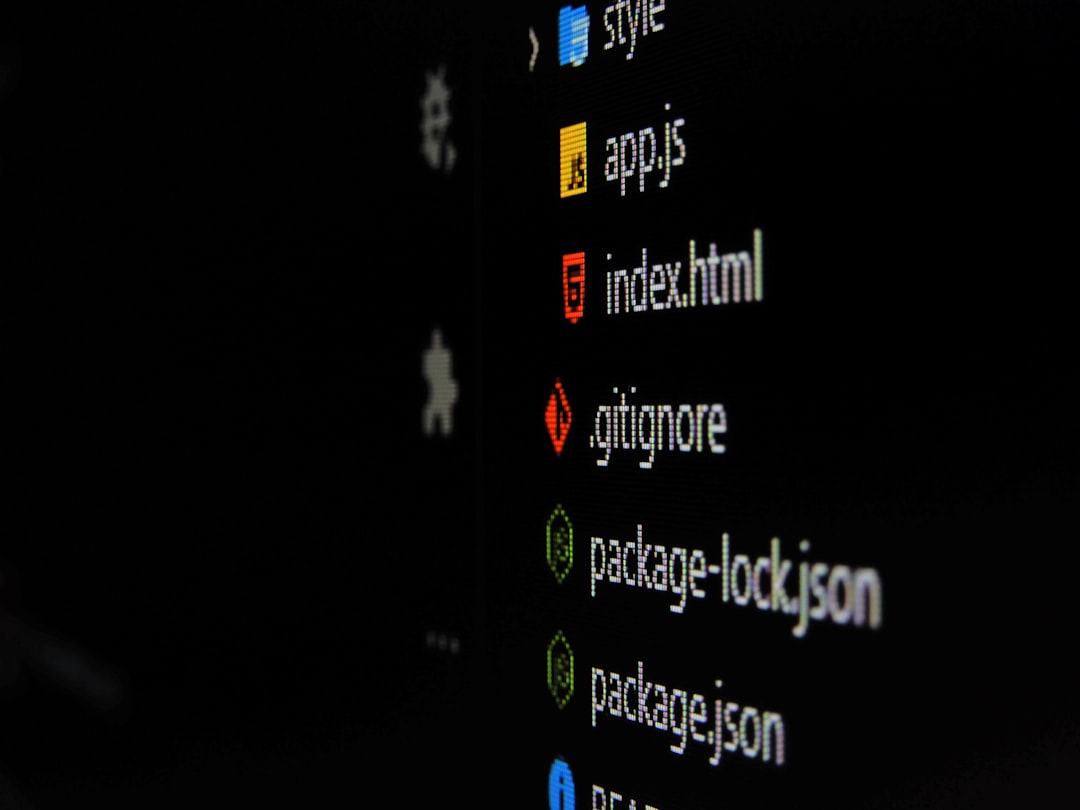
- Project files: The actual files that make up your project, such as HTML, CSS, JavaScript, Python, images, or configuration files.
- README file: A document, commonly named README.md, that explains what the project is, how to install it, and how to use it.
- Commit history: A chronological record of saved changes made to the project.
- Branches: Separate lines of development used to work on changes without immediately affecting the main version.
- Settings and collaboration tools: Options for permissions, issues, pull requests, and project management.
When you create a repository on GitHub, you can choose whether it is public or private. A public repository can be viewed by anyone, which is useful for open-source projects, tutorials, and portfolio work. A private repository is visible only to people you invite, which is better for confidential or unfinished work.
Creating Your First Repository
To create a repository, sign in to GitHub and look for the option to create a new repository. GitHub will ask for a repository name, visibility setting, and optional initialization choices. For beginners, it is often helpful to select the option to add a README file. This gives your project a starting document and makes the repository feel more complete from the beginning.
Choose a clear and professional repository name. A good name should be short, descriptive, and easy to understand. For example, personal portfolio, weather app, or python calculator are more useful than vague names such as test or new project.
After creating the repository, you will see its main page. This page shows your files, recent commits, branches, and repository information. At first, it may contain only a README file, but you can add more files through the GitHub website, GitHub Desktop, or the command line.
Adding Files to a Repository
There are several ways to add files to a GitHub repository. The easiest method for a beginner is to use the GitHub website. You can click to add a file, create a new file directly in the browser, or upload files from your computer. This approach is simple and useful for small changes, documentation, and early practice.
For more serious work, many developers use Git on their local computer. This means you keep a copy of the repository on your machine, edit files with your preferred code editor, and then send changes back to GitHub. The basic workflow is:
- Clone the repository to your computer.
- Edit or add project files locally.
- Stage the files you want to include in the next saved change.
- Commit the changes with a message.
- Push the commit to GitHub.
You do not need to master every Git command immediately. However, understanding this sequence will help you make sense of how GitHub works behind the scenes.
What a Commit Is
A commit is a saved snapshot of changes in a repository. It records the specific modifications made to files at a particular point in time. Each commit has a unique identifier, an author, a date, and a message explaining the change.
You can think of commits as checkpoints. When you reach a meaningful point in your work, you create a commit. If something goes wrong later, you can review previous commits and see exactly what changed. This is one of the strongest advantages of using GitHub and Git instead of simply saving files manually.
A commit does not need to represent an entire finished project. In fact, it is usually better to make smaller, focused commits. For example, one commit might add a navigation menu, another might fix a spelling error, and another might update a configuration file. This makes your history easier to read and easier to troubleshoot.

Writing Good Commit Messages
Every commit includes a message. This message should explain what changed and why it matters. Beginners often write vague messages such as update, changes, or fixed stuff. While these may seem acceptable at the moment, they become unhelpful later when you need to review the project history.
A strong commit message is clear, specific, and concise. It should help another person understand the purpose of the change without opening every file. Examples of useful commit messages include:
- Add homepage layout
- Fix form validation error
- Update README with installation steps
- Remove unused CSS styles
- Create basic login page structure
For most beginner projects, a short one-line message is enough. As your work becomes more complex, you may choose to write longer commit descriptions, especially when explaining technical decisions or important fixes.
How Repositories and Commits Work Together
Repositories and commits are closely connected. The repository is the container for the project, while commits are the recorded steps that show how the project evolved. Without commits, a repository would simply be a folder of files. With commits, it becomes a documented history of development.
This history is especially useful when you collaborate with others. Each person can make commits that show their contributions. GitHub can display differences between commits, making it easier to review code, identify mistakes, and understand how a feature was built.
Even if you are working alone, commits help you maintain discipline. They encourage you to work in organized steps rather than making large, confusing changes all at once. This habit becomes increasingly important as projects grow.
Using the README File Properly
A README file is often the first thing people see when they visit your repository. It should explain the purpose of the project and provide enough information for someone else to understand or use it. A good README increases trust and makes your repository look more professional.
For a beginner project, your README might include:
- Project name: The title of your project.
- Description: A brief explanation of what it does.
- Technologies used: Languages, frameworks, or tools involved.
- Installation instructions: Steps needed to run the project.
- Usage notes: Basic guidance for users.
- Future improvements: Features you plan to add later.
Do not ignore documentation just because you are new. Clear documentation is a sign of careful work. It also helps you remember your own decisions when you return to a project weeks or months later.
Public, Private, and Professional Use
When deciding whether a repository should be public or private, consider the purpose of the project. If you are practicing, building portfolio pieces, or sharing open-source work, a public repository is appropriate. If your project includes sensitive information, client work, personal credentials, or unfinished private ideas, use a private repository.
Never upload passwords, API keys, private certificates, or confidential data to GitHub. Even if you delete them later, they may remain in the commit history. Beginners should develop the habit of keeping secrets out of repositories from the start. Use environment variables or secure secret management tools when needed.
Professional developers treat GitHub history seriously. A clean commit record, helpful README, and organized repository structure show that you understand not only how to write code, but also how to manage work responsibly.
Common Beginner Mistakes to Avoid
Many GitHub mistakes are easy to prevent once you know what to watch for. The most common beginner mistake is making one large commit after hours or days of unrelated changes. This makes it difficult to understand what happened. Instead, commit after each meaningful unit of work.
Another mistake is using unclear file names or leaving the repository disorganized. A repository should be easy to navigate. Group related files logically, remove files you no longer need, and avoid uploading temporary files unless they are required.
Beginners also sometimes forget to pull the latest changes before working on a shared project. If multiple people are contributing, always make sure your local copy is up to date before adding new work. This reduces conflicts and confusion.
A Simple Beginner Workflow
If you are just starting, use a simple repeatable workflow. First, create a repository with a clear name and README. Second, add a small set of files. Third, make one focused change. Fourth, commit that change with a meaningful message. Finally, review the repository on GitHub to confirm that the files and commit history look correct.
This process may seem slow at first, but it builds confidence. Over time, the steps become natural. You will begin to understand not only what GitHub does, but why version control is essential for reliable software development.
Final Thoughts
Learning GitHub begins with understanding repositories and commits. A repository stores your project, while commits preserve the history of changes that shape it. Together, they give you structure, accountability, and the ability to recover from mistakes.
For beginners, the goal is not to learn every advanced feature immediately. Start with the basics: create repositories, write clear README files, make small commits, and use meaningful commit messages. These habits will serve you well as your projects become larger and more complex. With steady practice, GitHub becomes less intimidating and more like what it truly is: a dependable system for managing your work with clarity and confidence.