

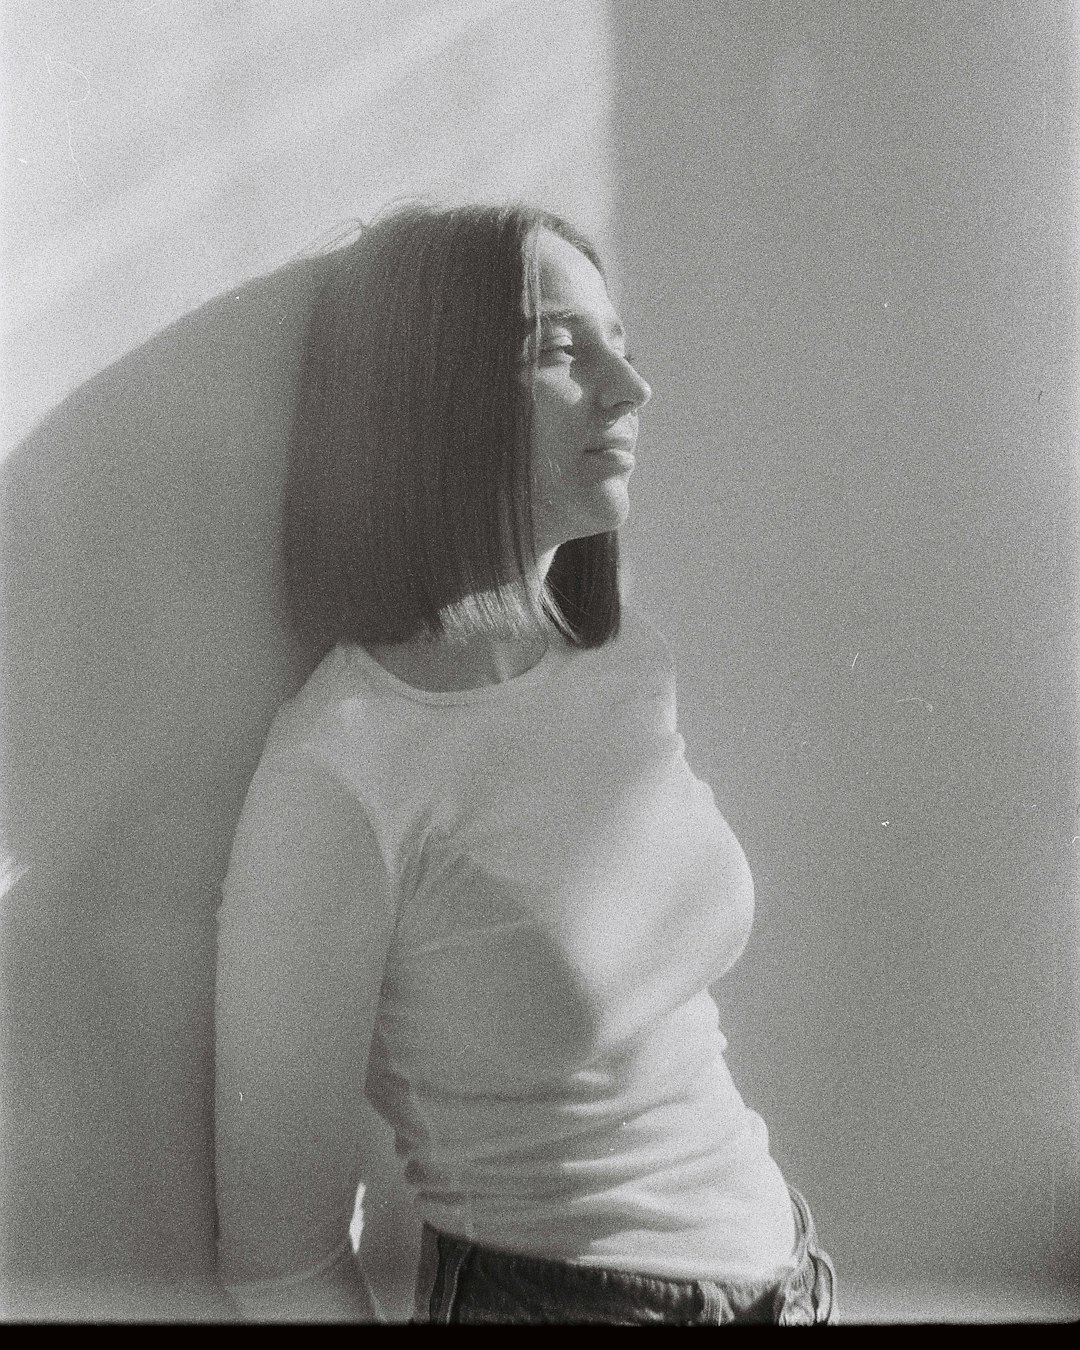
Film grain is more than a nostalgic filter. Used carefully, noise can add texture, depth, atmosphere, and a sense of physical realism to digital images that may otherwise look overly clean. Whether you are restoring a vintage mood, matching a photograph to analog references, or giving artwork a cinematic finish, understanding how to add noise properly is essential.
TLDR: To create convincing film grain, add noise subtly, control its size and opacity, and blend it naturally with the image rather than applying it as a heavy effect. Use monochromatic grain for classic black-and-white or cinematic looks, and colored grain only when it supports the style. Always evaluate the result at full size and export carefully to preserve the texture without making the image look damaged.
Why Noise Creates a Vintage or Filmic Look
Digital images are often sharp, smooth, and highly detailed. While this can be desirable, it can also make an image feel sterile. Traditional film photography, by contrast, contains visible grain caused by light-sensitive particles in the film emulsion. This grain varies depending on film stock, ISO, exposure, development, and enlargement.
When you add noise to an image, you are simulating part of that chemical randomness. The goal is not simply to make the picture look rough. The goal is to create controlled imperfection. Good grain softens overly digital surfaces, adds cohesion to edits, and can make composite images feel more unified.
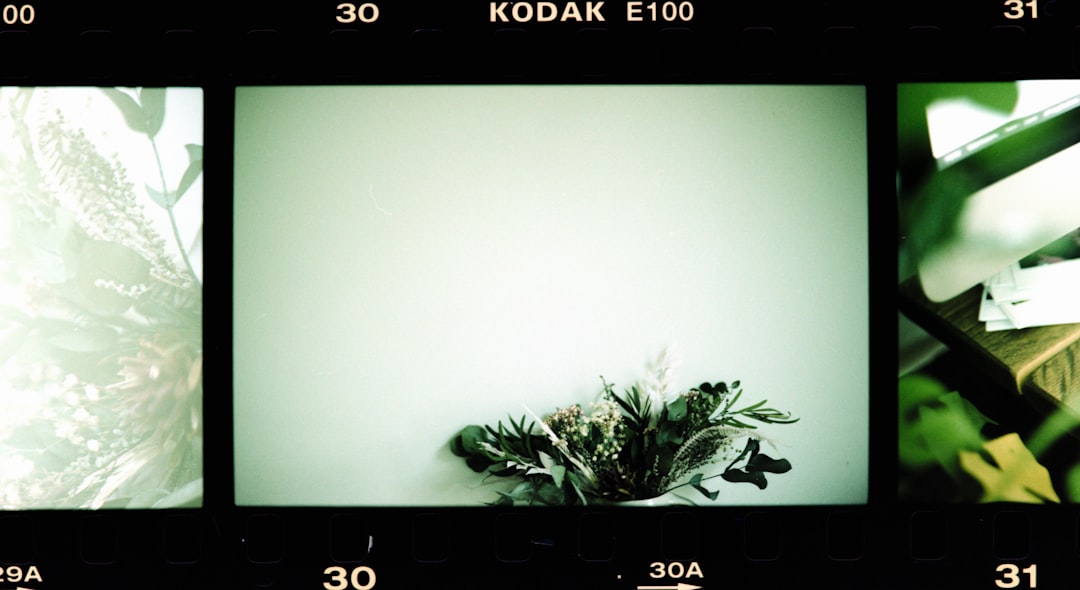
Start With the Right Image Preparation
Before adding noise, make sure the image is properly edited. Grain should usually be one of the final steps, after exposure, contrast, color grading, retouching, and sharpening. If you apply grain too early, later adjustments may exaggerate it or make it uneven.
Begin by checking the following:
- Exposure: Correct overly bright or dark areas before applying texture.
- Contrast: A vintage look often benefits from slightly softened contrast, but avoid making the image flat.
- Color: Warm highlights, muted shadows, and gentle saturation can support a nostalgic appearance.
- Sharpness: Excessive sharpening can clash with grain and create a harsh, artificial result.
It is also wise to work non-destructively. Use duplicate layers, adjustment layers, or smart objects when available. This allows you to reduce, mask, or remove the noise later without harming the original image.
Choosing the Type of Noise
Not all noise looks like film grain. Basic digital noise can appear harsh, patterned, or colorful in an unpleasant way. For a serious vintage effect, you should choose the noise type intentionally.
Monochromatic noise is often the safest and most realistic option. It adds texture without introducing random red, green, and blue speckles. This is especially effective for black-and-white photography, editorial portraits, and cinematic color grades.
Colored noise can be useful when imitating certain consumer films, expired film, or low-light analog photography. However, it should be subtle. Too much colored noise quickly makes an image look like a technical error rather than a stylistic choice.
Fine grain suits portraits, fashion images, product photography, and understated vintage effects. Coarse grain works better for dramatic black-and-white images, documentary styles, older film references, or intentionally gritty compositions.
Method 1: Add Noise Directly
The simplest method is to apply a noise filter directly to a duplicate image layer. Most image editing applications include a noise option, usually with controls for amount, distribution, and monochrome settings.
- Create a duplicate of your edited image layer.
- Apply a noise filter to the duplicate layer.
- Select monochromatic if you want a traditional film grain effect.
- Start with a low amount, such as 2% to 8%, depending on image size.
- Reduce the layer opacity until the grain blends naturally.
This method is fast and effective for subtle texture. However, applying noise directly can be less flexible if you later want to change the grain scale or distribution. For more control, use a separate grain layer.
Method 2: Create a Separate Grain Layer
A dedicated grain layer gives you more control and is often the preferred professional approach. It keeps the texture independent from the image, making it easy to adjust opacity, blending, and masking.
To create one, add a new layer filled with neutral gray, often 50% gray. Then apply noise to that layer and set its blending mode to Overlay, Soft Light, or another contrast-based mode. Overlay creates a stronger effect, while Soft Light is gentler and often more realistic.
After applying the noise, reduce the opacity until it appears natural. In many cases, an opacity between 10% and 35% is enough. The exact value depends on resolution, subject matter, and the final viewing size.

Control Grain Size and Sharpness
Real film grain has physical size. If the grain is too tiny, it may look like digital sensor noise. If it is too large, it can resemble dirt or a damaged print. The appropriate scale depends on the image resolution and the style you want.
If your editor allows it, try slightly blurring the noise layer with a very small radius. This can remove the brittle, digital edge from the texture. You can also enlarge the noise layer before blending it to create a coarser grain pattern. For a cleaner cinematic effect, keep grain fine and even. For a rugged vintage print, allow it to be more visible and irregular.
Always view the image at 100% magnification when judging grain. A texture that looks attractive when zoomed out may be too strong at actual size. Conversely, very delicate grain may disappear once the image is resized for web use.
Apply Grain Selectively
Film grain usually appears across the entire photograph, but that does not mean every area should receive the same strength. Shadows, skies, skin, and smooth backgrounds often reveal grain more clearly than detailed textures such as hair, fabric, or foliage.
Selective masking can improve realism. For example, you may want to reduce grain on faces to preserve flattering skin detail, while allowing more texture in the background. You can also apply slightly stronger grain to shadows for a moody analog character.
Use masks carefully and avoid obvious transitions. Grain should feel integrated, not painted on. A large, soft brush at low opacity is usually better than hard-edged masking.
Combine Grain With Other Vintage Adjustments
Noise alone does not create a complete vintage effect. It works best when paired with restrained tonal and color choices. A convincing look may include:
- Muted saturation to reduce the overly vivid quality of modern digital images.
- Lifted blacks for a softer, faded shadow response.
- Warm highlights and slightly cooler shadows for a cinematic grade.
- Subtle vignetting to draw attention toward the subject.
- Reduced clarity to imitate the softer rendering of older lenses.
The key word is subtle. Vintage does not have to mean exaggerated orange tones, crushed details, or excessive texture. Serious image work depends on restraint and consistency.
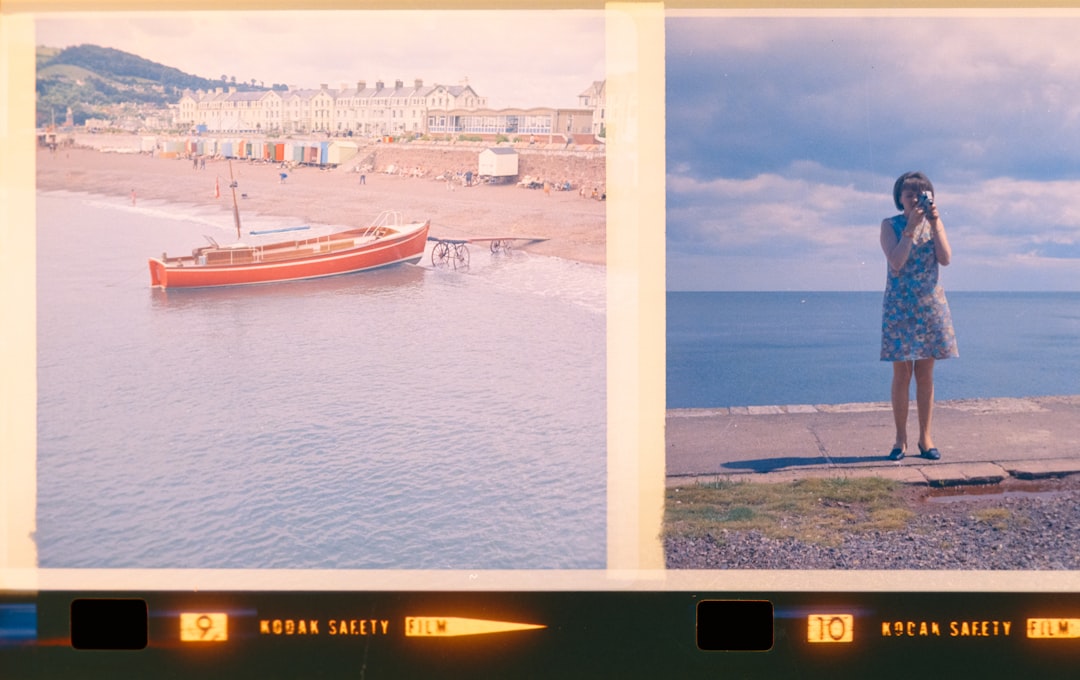
Avoid Common Mistakes
The most common mistake is using too much noise. Heavy grain can obscure important details, make skin look dirty, and reduce the professional quality of the image. Another frequent issue is applying grain after resizing without checking how it appears on the final platform.
Be cautious with compression as well. JPEG compression can interact badly with fine noise, creating blocky artifacts. If possible, export at a high quality setting. For archival or print work, consider formats that preserve more detail, such as TIFF or high-quality PNG when appropriate.
Also avoid using the same grain preset on every image. A bright studio portrait, a dark street photograph, and a faded travel scene should not necessarily have identical texture. Match the grain to the subject, lighting, and intended emotional tone.
Final Checks Before Exporting
Before finishing, step away from the image for a moment and return with fresh eyes. Look at the full composition, then inspect important details at 100%. Ask whether the grain supports the image or distracts from it.
For print, consider making a small test print. Grain often appears differently on paper than it does on a backlit screen. For web use, preview the image at the exact display size. If the effect disappears after resizing, add a slightly stronger grain layer before export, but keep it controlled.
Adding noise for film grain and vintage effects is ultimately a matter of judgment. The best results come from understanding the character of analog photography, applying texture with precision, and respecting the image itself. Done well, grain does not merely decorate a photograph; it gives it atmosphere, credibility, and a lasting visual presence.